 blog
blog
Schedule Professional Garage Door Repair in Reno
Table of Contents
- When to Schedule Professional Garage Door Repair in Reno
- Common Garage Door Repairs and What They Involve
- Signs of Garage Door Opener Failure
- Garage Door Safety Inspection Checklist
- Fire Rated Garage Door Requirements
- How to Choose a Garage Door Repair Company in Reno
- How to Schedule Service and What to Expect
- Frequently Asked Questions
Last Updated: September 14, 2026
When to Schedule Professional Garage Door Repair in Reno
A garage door that won't close is an open door to your home, and in Northern Nevada's high-desert climate, that matters. At Wolff Exteriors, we've helped homeowners across Sparks and the Reno area decide when a garage door problem needs a same-day technician and when it can wait. This guide covers when to schedule professional garage door repair in Reno, what each repair involves, and how to vet the company you hire.
The most common mistake we see is homeowners waiting on a door that's already telling them something is wrong. A grinding opener, a door that reverses halfway down, or a visible gap along the bottom edge are all early warnings. Address them early and you avoid a full replacement later.
Signs You Should Not Wait
Certain symptoms mean stop using the door today. A snapped torsion spring, a frayed or hanging cable, or a door that slams shut are safety issues, not nuisances. Garage doors weigh hundreds of pounds, and when a spring or cable fails, the door can drop without warning (CPSC Safety Standard Targets Garage Door Deaths).
Call for emergency service immediately if you notice any of these:
- A loud bang from the garage, followed by a door that won't lift
- A cable that's visibly off its drum or wrapped unevenly
- The door hanging crooked, with one side higher than the other
- An opener that runs but the door doesn't move
For everything else, a routine appointment works fine.
Emergency vs. Routine Service
Emergency repair is for anything that leaves your home unsecured or creates a safety hazard. Routine service covers slower problems: a noisy door, a dead remote, or cracked weather stripping.
Ask upfront whether emergency calls carry a different service call rate than a standard appointment, and get that in writing before you book.
Common Garage Door Repairs and What They Involve
Most garage door repairs fall into two buckets: the mechanical system that lifts the door, and the door itself. Knowing which one you're dealing with helps you ask better questions when you call.
Spring, Cable, and Track Repairs
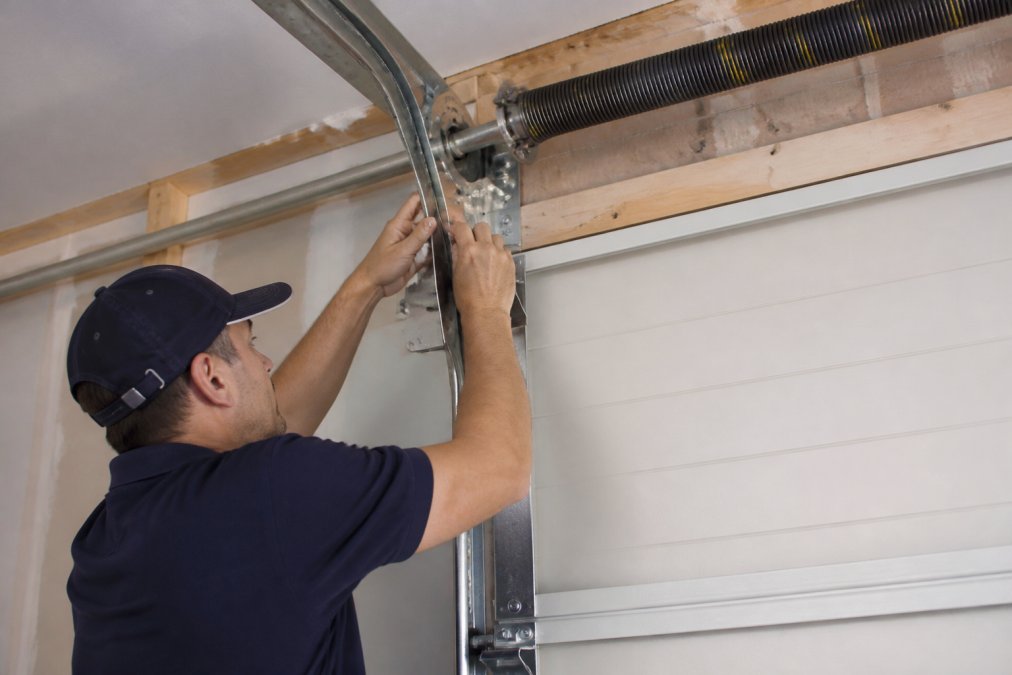
Torsion and extension springs do the heavy lifting. When a spring breaks, the door becomes dangerously heavy and the opener can't compensate. Spring replacement is a job for a trained technician, not a homeowner, because the springs stay under extreme tension even when the door is down (osha.gov).
Cable repair follows the same logic. Cables run from the bottom brackets to the drums above the door, and a cable that's jumped the drum needs re-seating and inspection for fraying. Track adjustment is gentler: if the door binds or rubs, the tracks may just be out of alignment, often from loose brackets or worn rollers.
Panel, Opener, and Remote Programming
Damaged door panels are usually cosmetic until they aren't. A dented section can throw off the door's balance and let water in. Individual panels can often be replaced without swapping the whole door, which keeps the cost down.
Opener repair covers the motor unit, the drive system, and the safety sensors at the bottom of the tracks. Remote programming is the simplest job: a technician can sync a new remote or reprogram an existing one in minutes, often bundled into a service call.
Signs of Garage Door Opener Failure
An opener rarely dies without warning. The clues it gives you usually reveal whether you're looking at a sensor problem, a drive problem, or a control board on its way out. Watch for an opener that strains, hesitates, or reverses for no reason.
The clearest signs of garage door opener failure include:
- The motor runs but the door stays put, which usually means a stripped gear or a broken drive belt
- The door reverses immediately after touching the floor, which points to a sensor or limit-setting issue
- The wall button works but the remote doesn't, which narrows it to the remote or receiver
- The opener hums and clicks without moving the door
- The lights flicker or dim when you press the button, which suggests the motor is drawing more current than it should
- The door opens partway and stops, which often traces to a travel-limit setting that has drifted or a binding track
What Each Symptom Usually Means
A chain-drive or belt-drive opener that runs but doesn't move the door has almost always lost its connection between the motor and the trolley: a stretched or broken chain, a frayed belt, or a stripped gear. A screw-drive opener that hums without moving often has a worn carriage or stripped drive nut.
A door that reverses immediately after touching the floor is usually a limit-setting problem, not a sensor problem: the opener thinks the floor is higher than it is (pubmed.ncbi.nlm.nih.gov). The fix is a travel-limit adjustment. If the door reverses before it reaches the floor, that's more often the photo-eye sensors, check for cobwebs, dust, or a misaligned bracket first.
A wall button that works while the remote doesn't narrows the problem to the remote, its battery, or the receiver board inside the opener. Reprogramming or replacing a remote is inexpensive; a failed receiver board usually means replacing the logic board.
Repair vs. Replace: How to Decide
If the opener is under about ten years old and the motor still runs smoothly, repair is usually the better spend. Common repairs, a new drive belt, a gear kit, a logic board, or safety sensors, restore function without replacing the whole unit. Once the motor fails, the unit grinds under load, or the control board is obsolete, replacement is the smarter call. A written estimate should spell out both options before any work begins.
When you replace the opener, ask about the fire rating of the door assembly if your garage shares a wall or ceiling with living space, the opener and door must work together, and a fire rated door with the wrong hardware or a mismatched operator can lose its rating.
Garage Door Safety Inspection Checklist
A garage door safety inspection checklist confirms the door, springs, cables, and safety features all work as intended. Run through it twice a year, and after any storm or impact.
- Test the auto-reverse: place a roll of paper towels under the door and close it. The door should reverse on contact.
- Test the photo-eye sensors: wave an object across the beam. The door should stop and reverse.
- Inspect springs for gaps, rust, or a stretched appearance
- Check cables for fraying, kinks, or slack
- Look at rollers and hinges for wear or loose bolts
- Confirm the door is balanced: disconnect the opener and lift the door halfway. It should stay put.
- Check weather stripping along the bottom and sides for cracks
If the door fails the balance test or the auto-reverse test, stop using it and schedule a service call.
Fire Rated Garage Door Requirements
Fire rated garage door requirements apply when a garage shares a wall or ceiling with living space, or when the door separates a garage from a habitable area. These doors resist fire for a set period and carry a rating stating how long they hold.
Fire ratings are typically expressed in time increments, such as 20, 45, 60, or 90 minutes, and the label on the door states the rating. A fire rated door must be installed with the correct hardware and labeled components to keep that rating valid. If you're replacing a door on an attached garage, ask your contractor to confirm the required rating before ordering, since local building codes set the minimum.
This is where a lot of homeowners get surprised. A standard insulated door is not the same as a fire rated door, and swapping one for the other can fail an inspection. If you're unsure what your home requires, have the opening evaluated before you buy.
How to Choose a Garage Door Repair Company in Reno
The right company is licensed, insured, and willing to put its warranty in writing. That combination separates the professionals from the fly-by-night operators.
Start with credentials. Ask for the license number and verify it, and confirm the company carries liability insurance and workers' compensation. A licensed and insured technician protects you if something goes wrong on your property.
Next, ask about the warranty on both parts and labor. A company that stands behind its work will spell out the coverage period in writing.
Finally, insist on a free estimate before work begins. A written estimate that itemizes parts and labor protects you from surprise bills. If a contractor won't put the scope and price in writing, walk away.
Credentials, Warranty, and Free Estimates
Use this quick comparison to sort providers before you call:
| What to Check | Why It Matters | Red Flag |
|---|---|---|
| License and insurance | Protects you if a technician is injured or damages property | Won't provide a license number |
| Written warranty | Covers parts and labor if something fails | Vague or verbal only |
| Free written estimate | Prevents surprise charges | Demands a deposit before quoting |
| Local references | Confirms real work in your area | No local addresses or reviews |
Wolff Exteriors holds NV License #0094416 and #0095570, carries insurance, and provides free estimates with the scope in writing. We also handle roofing, siding, windows, and gutters, so if a storm took out your garage door and part of your roof, one crew can handle both.
How to Schedule Service and What to Expect
Scheduling service starts with a call or online request, and most reputable companies can give you a same-day or next-day window for non-emergencies. Have your door's make, model, and a description of the problem ready, plus photos if you can. Photos of the spring, cable drums, and bottom seal save the dispatcher time and often let the technician arrive with the right parts.
Here's what a standard visit looks like:
- Intake: You describe the symptoms, and the dispatcher books a service window.
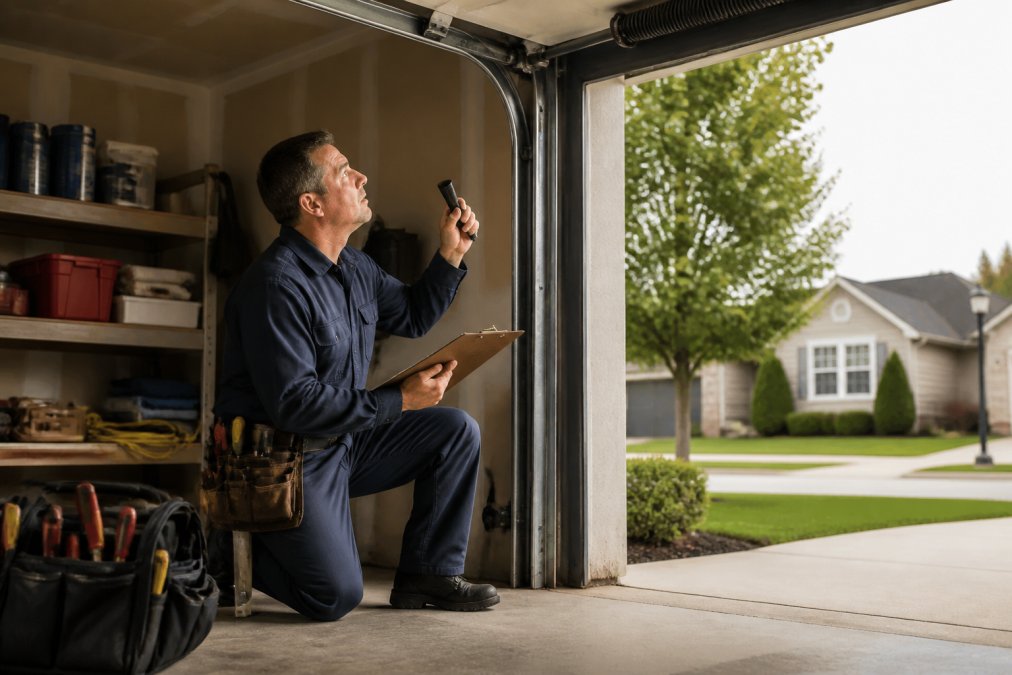
- Diagnosis: The technician inspects the springs, cables, tracks, rollers, and opener, then explains what's wrong.
- Written estimate: You get the scope and price before any work starts.
- Repair: The technician completes the work, tests the door, and walks you through the fix.
- Follow-up: You receive the warranty terms for the parts and labor.
Expect the technician to test the auto-reverse and photo-eye sensors before leaving. If they don't, ask them to. A good company treats that final safety check as part of the job.
What Common Repairs Typically Cost
The final number depends on the door's size, the parts required, and whether the work is routine or after-hours, but the categories below drive the bill.
| Repair Type | What Drives the Cost | Typical Range |
|---|---|---|
| Torsion or extension spring replacement | Spring size, door weight, whether one or both springs are replaced | Moderate to high |
| Cable replacement | Number of cables, drum condition, whether the door needs re-tensioning | Moderate |
| Opener repair | Part needed (gear kit, belt, logic board, sensors) | Low to moderate |
| Opener replacement | Unit type (chain, belt, screw, or jackshaft), horsepower, smart features | Moderate to high |
| Panel replacement | Panel size, color match, whether the section is still in production | Low to moderate |
| Track and roller service | Number of rollers, track straightness, hinge wear | Low |
| Remote programming or replacement | Remote type, whether a new receiver is needed | Low |
Ask upfront what the service call rate is for emergency and after-hours calls and get it in writing before you book. A written estimate that itemizes parts and labor is the best protection against a surprise bill.
Fire Rating Verification Before You Book
If your garage shares a wall or ceiling with living space, the door assembly may need a fire rating. Ratings are expressed in time increments, commonly 20, 45, 60, or 90 minutes, and the label on the door states the rating. When you schedule service, tell the dispatcher whether your door has a fire rating label and where it's located. A technician who knows the rating can confirm the correct hardware, hinges, and closer are in place, because a fire rated door only performs as rated when installed with its labeled components. If you're replacing the door or opener, ask the contractor to confirm the required rating before ordering, since local building codes set the minimum.
Frequently Asked Questions
What are the most common signs that a garage door needs professional repair?
Watch for a door that jerks, stalls, or reverses before closing, loud banging or grinding during operation, visible gaps in the panels, snapped cables, or a torsion spring that has visibly broken. Slow response from the remote and a door that will not stay open are also warning signs. When you notice any of these, schedule professional garage door repair in Reno promptly, because a worn spring or frayed cable can fail completely and turn a small fix into a full replacement.
How often should I schedule professional garage door maintenance?
Most manufacturers recommend a professional tune-up once a year. In Northern Nevada, where dust and temperature swings between seasons are hard on moving parts, an annual visit keeps springs, rollers, and tracks lubricated and aligned. During that visit a technician can run a garage door safety inspection checklist, test the auto-reverse and photo-eye sensors, and tighten hardware before small issues turn into emergency service calls.
Are there specific fire resistance ratings for residential garage doors?
Yes. Fire rated garage door requirements apply mainly to doors that separate a garage from a living space or that sit on a property line. These doors carry a fire rating, often 20, 45, or 60 minutes, and must be self-closing and self-latching in many jurisdictions. If your home has an attached garage, ask your contractor to confirm the rating your door needs before any repair or replacement, since the wrong door can fail an inspection.
How do I verify the credentials of a garage door repair technician?
Ask for the company's state license number and proof of insurance before work begins. A reputable provider will share both without hesitation and will put the estimate and warranty in writing. Check that the technician carries parts for major brands and can explain what failed and why. A licensed and insured crew protects you if someone is injured on the job and gives you recourse if the repair does not hold.